Oven and Range Repair Checklist: Gas vs Electric Considerations
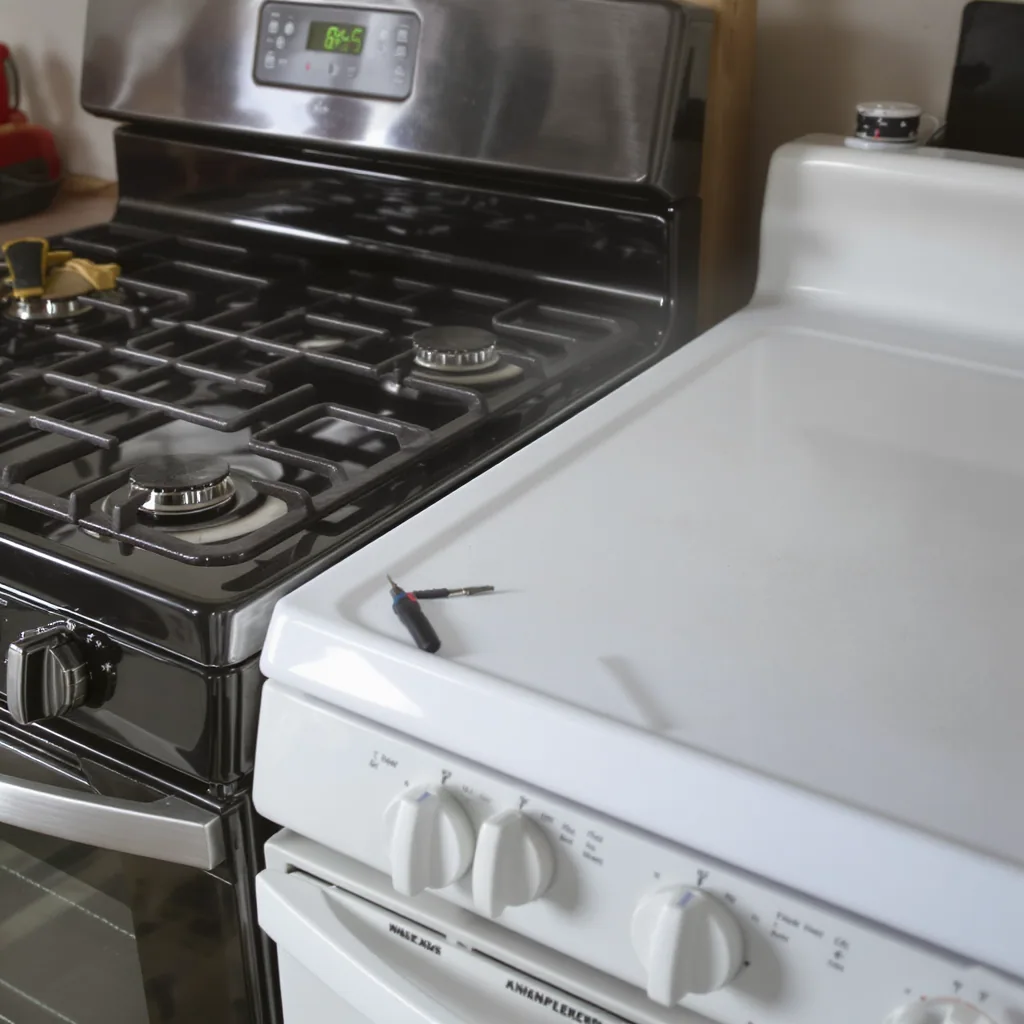
When your oven stops heating or a burner won’t light, the first question isn’t just ‘what’s broken? ‘—it’s ‘what kind of system am I dealing with, and what can I realistically fix myself? ‘ I’ve seen too many people waste time and money because they didn’t start with the right diagnostic path for their fuel type. Gas and electric ranges fail in fundamentally different ways, and your repair checklist needs to reflect that from step one.
This isn’t about theoretical diagrams. It’s about the smell of gas versus a tripped breaker, a $20 igniter versus a $500 control board, and knowing when a repair makes sense for your budget and your Saturday. Let’s walk through a practical, field-tested approach to get you from confusion to a clear action plan.
My Go-To Diagnostic Path: Follow the Energy Source
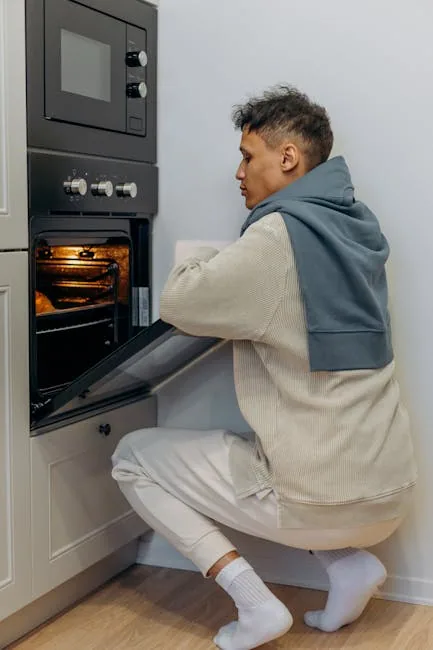
Photo by Mikhail Nilov on Pexels
Every repair starts by tracing the path of the energy that makes the appliance work. If you don’t understand whether you’re chasing a flame or an electrical current, you’ll waste hours. For gas, the path is: gas supply valve → safety valve → burner tube → ignition source (spark or hot surface) → flame. For electric, it’s: 240V circuit breaker → terminal block → controls and safety devices → heating element. Your job is to find where that flow stops.
Let’s make it concrete. Say your gas oven won’t heat. You turn it on and hear the gas valve click open, but no flame. The igniter might be glowing but not getting hot enough to open the safety valve. That’s a classic failure point. Or, you hear no click at all—the problem is now upstream at the control board or the valve itself. For an electric oven with no heat, the first question is: is the bake element getting power? If you see no glow after preheating for 10 minutes, check if 240V is reaching the element terminals. If there’s power, the element is dead. If there’s no power, the issue is a blown thermal fuse, a faulty oven sensor, or a bad relay on the control board.
This step-by-step tracing prevents the most common error: throwing parts at the problem. I’ve seen people replace a perfectly good $150 gas igniter when the real issue was a $15 flame sensor coated in carbon buildup. I’ve also seen a $90 electric bake element installed, only to blow immediately because the underlying short in the wiring harness wasn’t fixed. Start at the wall or the shut-off valve and work inward, verifying each step. A simple digital multimeter is your best friend for electric diagnostics, letting you check for voltage and continuity without guessing.
Gas vs Electric: Side-by-Side Repair Realities
The repair experience isn’t just different parts—it’s different risks, costs, and DIY viability. Here’s the breakdown from my years in the field.
This table isn’t theoretical; it’s based on the calls I’ve made and the parts I’ve most commonly pulled from my truck. Use it to set your expectations before you even grab a screwdriver.
| Consideration | Gas Range/Oven | Electric Range/Oven |
|---|---|---|
| Most Common DIY-Friendly Fix | Cleaning clogged burner ports, replacing a spark igniter module for a cooktop burner, or swapping a hot surface igniter for the oven (with gas OFF). | Replacing a visibly damaged bake or broil heating element, swapping out a faulty surface element (coil or smooth-top), or replacing a thermal fuse. |
| Typical High-Cost Failure | Gas valve assembly or combination oven regulator/bake valve. These are safety-critical and expensive ($200-$500 for the part alone). | Main control board or oven control unit. Diagnosing these is complex, and they often cost $250-$600. |
| Average Part Cost Range for Common Repairs | Igniter: $30-$80. Spark module: $40-$120. Valve: $150-$500. | Bake element: $25-$60. Surface element (coil): $15-$40. Sensor: $20-$50. Control board: $250-$600. |
| Primary Safety Concern for DIY | Gas leaks and combustion. Never work on gas supply lines, regulators, or safety valves. Always check for leaks with soapy water after any disassembly. | High-voltage shock (240V). The terminal block where house wiring connects is extremely dangerous. Always unplug the unit or shut off the double-pole breaker. |
| Diagnostic Complexity | Can be trickier. Requires understanding a sequence of events: spark, gas release, flame sensing. Problems can be intermittent. | Often more straightforward for heating issues. A multimeter can usually pinpoint a failed component (open element, dead fuse). |
| Tool Requirements | Basic screwdrivers, nut drivers, flashlight, possibly a manometer for gas pressure tests (pro tool). | Basic screwdrivers, nut drivers, multimeter (essential), socket set for some elements. |
The key takeaway? Electric repairs are often more accessible to a diligent DIYer with a multimeter because you’re dealing with clear electrical pathways. Gas repairs require a more cautious mindset; if the problem is past the point of the accessible igniter or burner assembly, it’s usually a job for a technician certified to work with gas lines. Manufacturer technical manuals consistently emphasize this safety boundary for a reason.
The Real Cost Benchmarks: Repair vs. Replacement
The ‘50% rule’ is a decent starting point—if the repair cost approaches half the price of a comparable new unit, replacement often makes more sense. But it’s not that simple. You need a practical framework that includes hidden costs.
First, define “repair cost.” This isn’t just the part price from an online retailer. For a DIY repair, add the cost of any tools you need to buy (a good multimeter is $50+). For a professional repair, you’re looking at the service call fee ($80-$150), hourly labor ($100-$150/hr), and the part with their markup. A $150 igniter from a repair company might be $40 online, but they guarantee the part and the labor. That $400 repair on a 15-year-old basic model is a bad investment. That same $400 repair on a 2-year-old high-end dual-fuel range is a no-brainer.
Second, factor in downtime and availability. Common parts for electric ranges, like heating elements and thermostats, are often in stock at local appliance parts stores. Specialized gas valves or electronic oven control boards might take 5-7 business days to order. Can you be without your oven for a week? If not, that leans toward replacement.
Third, consider the “domino effect” of age. A 12-year-old oven with a failed control board is a warning sign. Even if you fix it, the heating elements, sensors, and door seals are all the same age and wearing out. Your $500 repair this month could be followed by a $300 repair six months from now. In contrast, a 4-year-old oven with a single failed element is likely an isolated incident.
Here’s my field-tested decision matrix: If the appliance is under 5 years old, repair is almost always the answer unless it’s a catastrophic failure like a cracked cooktop. From 5-10 years, weigh the repair cost against 50% of a replacement’s price and your attachment to the model. Over 10 years, be very skeptical of any repair over $300 unless it’s a premium brand with a stellar service history. Energy efficiency is another factor; newer models, especially electric induction or efficient gas ranges, can offer savings that help justify replacement over fixing an old energy hog. Resources like the Department of Energy’s appliance guidance can help you understand potential efficiency gains.
When to Put the Screwdriver Down and Call a Pro
Knowing your limits isn’t a sign of weakness; it’s the mark of a practical person. There are clear lines I never cross in my own home, and I advise you to do the same.
For gas appliances, any repair involving the gas line connection, the regulator, or the main safety valve assembly requires a licensed technician. The risk of a leak isn’t worth it. The moment you smell gas during your diagnostics (that distinctive rotten egg odor), your job is over. Shut off the gas at the appliance valve or main, air out the house, and call the utility or a pro from outside.
For electric ranges, any work inside the main terminal block where the thick 240V house wiring connects is off-limits for most DIYers. The wires are live until the double-pole breaker is off, and incorrect connection can lead to fire or shock. If the terminal block itself is charred or damaged, that’s a pro job to ensure the new one is mounted and wired with correct torque specifications.
Also, if your diagnostics point squarely to the main control board or oven control unit, consider calling for a diagnosis. While you can sometimes swap these boards yourself, modern units often require the technician to initiate a calibration cycle or input configuration codes. Paying for one hour of labor to confirm the diagnosis and properly install the part can save you from buying the wrong $400 component.
Finally, apply the “Two-Part Rule.” If you’ve followed a logical diagnostic path, replaced the most likely culprit (e.g., a thermal fuse), and the problem persists, stop. Don’t buy and install a second major part (like a control board) on a hunch. At this point, the complexity has exceeded the typical DIY payoff. Call a professional, give them your notes and what you’ve already replaced—this information saves them time and can reduce your final bill.
Common Pitfalls I See All the Time
These aren’t rare mistakes; they’re the weekly repeats in the repair world. Avoiding them will save you money, time, and frustration.
Assuming ‘no heat’ means the heating element is dead (electric) or the igniter is bad (gas).
More often, the issue is upstream. For electric, a blown thermal fuse or faulty oven sensor prevents power from reaching the element. For gas, a faulty safety valve or bad wiring harness stops the gas flow long before the igniter. Always test for power/continuity before buying the big-ticket part.
Prevention: Use a multimeter to check for continuity in fuses and sensors, and verify voltage at the element terminals or igniter leads before replacement.
Not verifying the model number before ordering parts.
A ’30-inch electric coil cooktop’ has dozens of variations. The wrong bake element might physically fit but have a different wattage, causing the oven to heat slowly or trip the thermal fuse. A gas igniter might look identical but have a different resistance rating, failing to open the gas valve properly.
Prevention: Pull the range out, find the manufacturer’s label (usually on the frame behind the drawer or door, or on the oven door frame), and use the exact model number for all part searches. Take a photo of the label.
Overtightening connections on gas or electric components.
Stripped screws on terminal blocks or cracked ceramic insulators on spark modules are common results of using too much force. These parts are often brittle. A cracked spark module tower means the whole unit needs replacement.
Prevention: Use firm, steady pressure—not aggressive torque. If a screw feels like it’s spinning freely, stop immediately. For terminal block connections, follow the manufacturer’s specified inch-pounds if available; otherwise, snug is sufficient.
Your Next Step
Start with the triage checklist. It will immediately tell you if you’re facing a simple fix or a complex problem. Document what you find—take photos, write down error codes. That information is gold for a professional if you need one. Remember, the goal isn’t to become a master appliance technician overnight. It’s to make an informed, practical decision about your time, money, and safety. Now, go check that breaker panel and listen for that gas valve click.
If you want examples, see Washing Machine Diagnosis.